Are you looking for Govee light installation tips? Keep reading.
As a professional installer and the founder of Deliciosa Decor, I’ve worked with countless lighting systems. Yet, I always find myself coming back to Govee Permanent Outdoor Lights. There's something special about how they combine advanced technology with straightforward design. They create a clean, year-round glow without the yearly hassle of putting up and taking down seasonal decorations.
These permanent outdoor lights offer a durable, impressive solution for any home. In this guide, I’ll walk you through my personal process for installing Govee’s LED lights to achieve a flawless, professional look. We’ll cover everything from preparation and tools to the final touches that make all the difference. My goal is to help you create a stunning, permanent solution that enhances your home all year round.
What Makes Govee Permanent Lights a Smart, Long-Term Choice
When homeowners ask me why I recommend Govee, my answer is simple: they offer quality, durability, and outstanding performance. The design of their light strands is precise, ensuring consistent illumination and a rich glow. Govee's product details show a commitment to longevity, with durable materials that stand up to the elements season after season. The bright, vivid colors produced by their LED technology can transform any house.
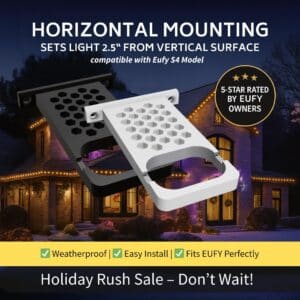
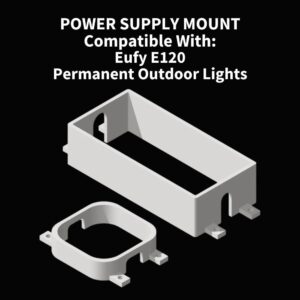
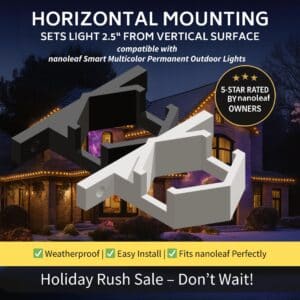
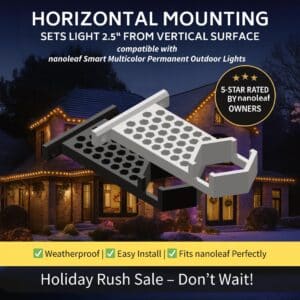
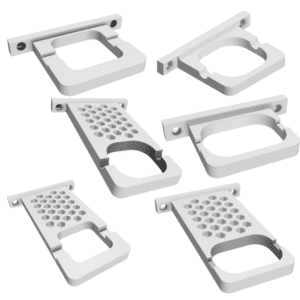
This commitment to quality is why Govee permanent lights pair so perfectly with our custom light mounts. While the included clips are a good starting point, our mounts provide a more secure and polished finish. When you invest in a top-tier lighting system like Govee, using the right accessories ensures you get the most out of it. Plus, considering the value you get from Govee products, adding our mounts is a small step that makes a huge impact—and with free shipping and savings on our end, it's an easy choice.
Tools You Need Before You Install Govee
Having the right tools on hand makes any job easier, and installing Govee lights is no exception. A well-prepared toolkit helps you avoid common problems like a loose section or clips that fail. Before you begin, gather the basic kit that most installations require:
- A sturdy ladder
- A reliable measuring tape
- A clean, dry cloth
- Adhesive preparation solution (like isopropyl alcohol)
- Access to a power outlet
Also, consider the weather. It’s best to install the lights on a calm, dry day. Extreme heat can affect the adhesive, while wind and moisture can make installation tricky and unsafe. Using the right tools for your specific surface ensures the durable adhesive creates a strong bond, giving you a clean finish that lasts. For the cleanest look, I always recommend our custom mounts over the standard clips.
Step 1: Prep Your Surface for a Smooth Install
A clean surface is non-negotiable for a successful installation. Before you even think about placing a light, wipe down the entire wall or trim with a dry cloth to remove dust, dirt, and cobwebs. Then, use an alcohol-based cleaner to remove any remaining residue that could interfere with the adhesive.
As you clean, inspect the surface for uneven edges, gaps, or other problem areas. This is also the perfect time to plan the placement of the control box and power source. I look for a discreet location that is close to a power outlet but protected from the elements. This planning ensures the final setup is tidy and the plug is secure.
Step 2: Measure and Plan Your Permanent Lights Like a Pro
I can't stress this enough: measure twice, install once. Taking the time to measure your trim, roofline, and angles for an exact layout will save you a massive headache later. This step prevents you from running short on lights or having to redo a faulty section.
Use your measuring tape to map out the entire path of the lights. Plan your wire routes carefully to keep them as hidden as possible. When using a ladder, always ensure it’s on stable ground and have someone spot you if possible. Once you have your complete measurements, you can compare them to the length of your Govee kit and confirm all the details before you start. This methodical approach is key to a perfectly installed system.
Step 3: Install Govee Permanent Outdoor Lights with Precision
Now it’s time to hang the lights. Whether you use the included clips or our custom mounts, the process is about precision. I start by unrolling the Govee outdoor lights and laying them out to prevent tangles. Following the plan you made, begin attaching the light strips to your soffits, trim, or siding.
Dealing with tight corners and textured siding can be a challenge. For corners, you may need to plan your spacing carefully to maintain a consistent look. When working with textured surfaces, the standard adhesive clips may struggle to hold. This is where our 3D-printed mounts really shine, as they can be secured with screws for a more durable hold. Also, try to avoid areas with direct heat exposure or channels where wind could pull on the lights. A few extra clips or mounts can provide the reinforcement needed for a clean, professional look.
Step 4: Connect to the Govee Home App for Full Control
With the lights installed, the next step is connecting them. Plug the system in, and the lights should automatically enter pairing mode. Open the Govee Home App on your phone, and it should automatically detect the new device. Follow the on-screen prompts to connect the lights to your Wi-Fi network.
If you have trouble connecting, you may have a weak Wi-Fi signal. A Wi-Fi extender can often solve this problem. Once connected, you can control everything from the app. Adjust the brightness, explore the many preset scenes, or even create your own custom color patterns. You can also connect it to Google Assistant or other smart home systems for voice control.
Step 5: Final Adjustments to Get That Professional Look
The final touches are what separate a DIY job from a professional one. Carefully tuck any excess wires into channels or secure them so they are out of sight. Hide the control box and double-check the spacing of your lights to ensure they are perfectly aligned. The goal is a tidy, clean finish that lets the beautiful glow of the lights be the star.
Before calling the job complete, I test every section to make sure all the lights are working correctly and the colors are uniform. A clean installation not only boosts your curb appeal but also saves you time on future maintenance. A little extra effort here helps illuminate your home perfectly.
Troubleshooting Common Issues with Govee Permanent Lights
Even with careful planning, you might run into a few common issues. Here’s how to handle them:
- A light section isn't turning blue: Check the connection points. Sometimes a simple wiggle or reconnecting the segment is all it takes.
- Device won’t connect to Wi-Fi: Ensure you are on a 2.4GHz network, as most smart devices don’t support 5GHz. You can temporarily switch your phone’s connection to try again.
- A faulty section or dim area: This could be a sign of a bad connection or a defective segment. Contact Govee’s official support for help.
- Adhesive failing: In extreme heat or wind, adhesive can lose its grip. This is a strong argument for using screw-in mounts for a more permanent solution.
If you’re stuck, a quick search on the Govee website or YouTube for their official videos can often provide a solution.
Why Custom Mounts Make the Biggest Difference
While the clips included with Govee lights are functional, my precision-fit mounts offer a far cleaner and more durable result. They are specifically designed for Govee permanent lights, creating a seamless look that installers and homeowners love. The mounts hold the lights straighter and more securely, preventing sagging and ensuring a perfect line. This is the secret to elevating a good installation into a great one. When you invest in a quality lighting system, using our mounts is the best way to enhance and protect it. And with every order including free shipping and an automatic 25% discount, it's a valuable and affordable upgrade.
Where to Place Your Lights for the Best Illumination
The placement of your lights has a huge impact on the final glow. Some of the best locations to enhance your house include:
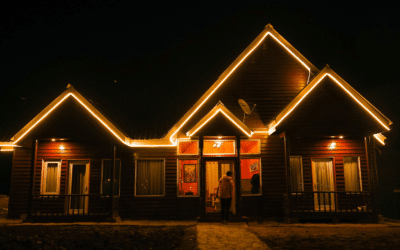
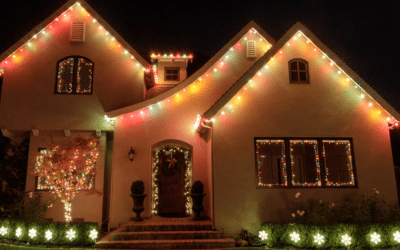
- Along the roofline or gables
- Under the trim of a porch or entryway
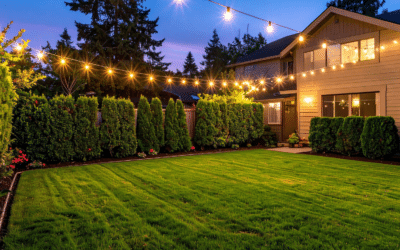
- Around a backyard patio or deck
- Outlining a pool area for ambient light
Avoid installing lights on surfaces with deep grooves, loose boards, or warped trim, as the adhesive will not hold well and the final look will be uneven. A smooth, stable surface is always best for optimal illumination.
Safety Tips Most DIY Guides Forget to Mention
Your safety is the top priority. When working with electricity, always be cautious. Ensure your hands are dry and you are not standing in water when you plug in the power source. Secure your ladder on level ground and never overreach.
Protect all wiring, plugs, and connections from the elements. Use waterproof covers for outlets and make sure no cords are in a position to become a tripping hazard. Pay attention to potential issues from heat and wind to ensure your setup remains safe year-round.
Final Thoughts: Enjoy Your Clean, Permanent Setup All Year Round
With the right preparation and a bit of patience, you can create a stunning and long-lasting Govee light installation. This guide gives you the steps to achieve a professional-quality finish with confidence. You can begin today and have your home looking incredible in no time.
To give your project an even cleaner, more durable finish, I invite you to explore our custom mounts at Deliciosa Decor. We are constantly adding new models to our catalog to support the latest lights on the market. Remember, every order comes with free shipping and 25% off, making it easy to complete your project and enhance your home's beauty.

