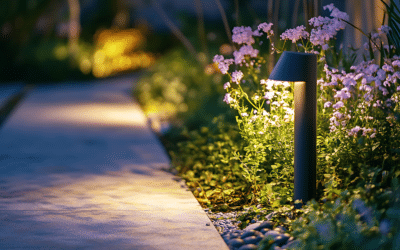
Are you wanting to learn how to hang Christmas lights without damage to your home?
My Simple, Safe Approach to Holiday Decorating
I’ve always believed that decorating your home for the holidays should feel fun, not stressful. There’s that specific moment when you plug in the lights for the first time, step back, and see your house glowing against the winter sky—it’s magic. But getting to that moment? For a lot of us, it’s a headache.
We’ve all been there: wobbling on a ladder, pockets full of nails, trying to hammer a clip into the fascia while the wind picks up. Maybe you’ve dealt with loose bulbs, uneven strings, or realized too late that you’ve damaged a shingle. It turns a joyful tradition into a chore.
That’s exactly why I started designing precision-fit mounts. Whether you’re dressing up your eaves, outlining windows, or setting up a permanent display, I want to help you get that clean, professional look without the risk. My goal is simple: keep your home safe, keep you safe, and make the whole process easier so you can actually enjoy the season.
Understanding the Risks: Why Nails and Screws Aren’t Worth It
When I first started looking into how people hang lights, I was shocked by how many “hacks” involved hammering nails directly into the roof or trim. As a homeowner, that makes me cringe.
Every time you drive a nail or screw into your exterior, you are creating a potential entry point for moisture. A tiny hole in your fascia or soffit might not look like much today, but after a few seasons of freeze-thaw cycles, that moisture gets into the wood. It leads to rot, peeling paint, and eventually, expensive repairs.
Even worse is nailing into shingles. Your roof is designed to shed water. Puncturing that barrier compromises your insulation and the long-term life of your roofline.
Then there’s the safety aspect. Trying to wield a hammer while balancing on a ladder in December weather is a recipe for disaster. Slippery surfaces, numb fingers, and loose wires don't mix well. The good news is that you don’t have to take these risks. There are smarter, non-invasive ways to get a secure hold without damaging the home you work so hard to maintain.
What You’ll Need Before You Start
Before you even think about climbing a ladder, you need a plan and the right gear. Here is my personal checklist to keep things smooth and organized:
- Light strands: Check your string lights, net lights, and make sure you have matching bulbs for any burnouts.
- Ladder safety gear: A sturdy ladder is non-negotiable. Make sure it has good grip feet.
- Non-damaging clips: Look for weather-rated adhesive hooks, gutter clips, and molding hooks specifically designed for outdoor use.
- Zip ties: Essential for clean cable management (more on this later).
- A reliable outdoor timer: So you don’t have to go out in the cold to unplug them every night.
- Storage supplies: Labels, bags, and durable tubs for storing your lights later.
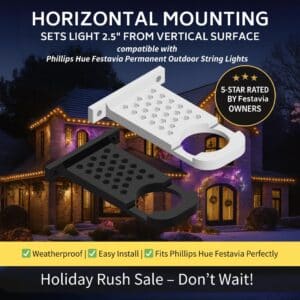
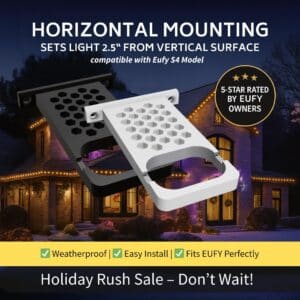
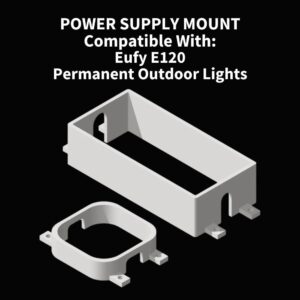
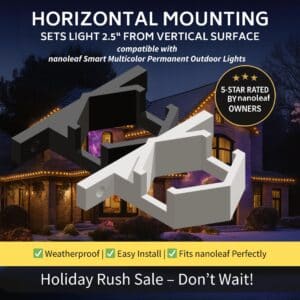
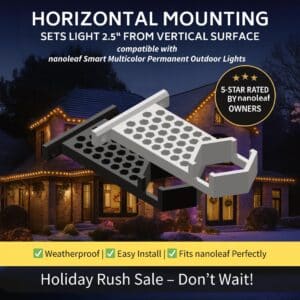
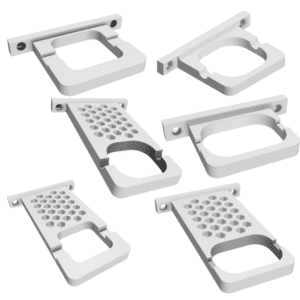
- Optional but recommended: My precision-engineered custom light mounts. These are perfect if you are installing permanent lights like Govee, Eufy, or Nanoleaf and want a flawless, screw-free appearance that lasts year-round.
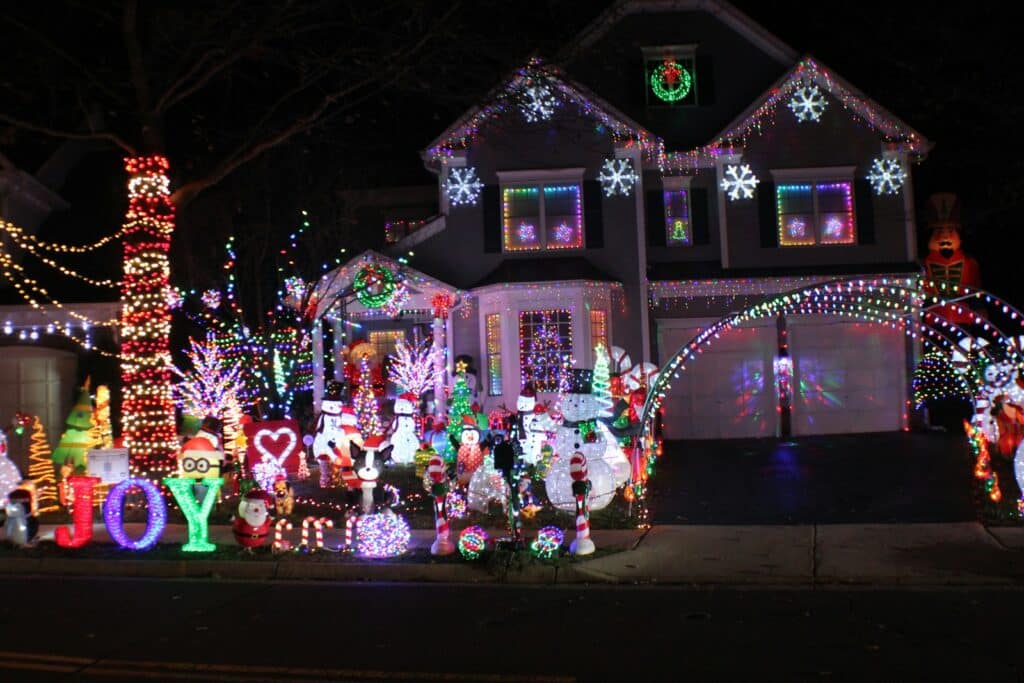
Measure Twice, Hang Once: How to Plan Your Layout
I treat hanging lights a bit like a mission—preparation is key. Don't just start stringing from the outlet and hope for the best.
First, walk the ground. Measure the feet of trim, corners, edges, and walkways you want to cover. This saves you from that frustrating moment where you’re two feet short of the roof peak.
Decide exactly where you want your lights to fit, spread, and connect. Are you aiming for a minimal look along the gutters, or a full Griswold-style display?
As you measure, label each section. Knowing that “Strand A” goes on the front porch and “Strand B” goes on the garage makes setup infinitely faster next year. Also, consider symmetry. Framing windows and doors adds balance to the house.
Finally, think about power. Where will you plug in? Where can you hide the extension cords? Planning your power path now prevents unsightly orange cords from ruining your winter wonderland aesthetic.
Best Ways to Hang Lights Without Damaging Your Roof
There is no “one size fits all” for every house, but there are definitely “best practices” for every surface.
Gutter Clips
For the roofline, plastic gutter clips are your best friend. They snap right onto the lip of the gutter without puncturing anything. They hold the wire securely and keep bulbs pointing in a uniform direction.
Adhesive Hooks
For smooth surfaces like vinyl siding or around door frames, weather-resistant adhesive hooks work wonders. Just make sure the surface is clean and dry before applying them so they bond correctly.
Brick and Siding Clips
If you have brick, look for brick clips that grip the mortar or bricks themselves. For siding, there are specific clips that slide under the siding overlap—no holes required.
Custom Mounts for Permanent Systems
If you are investing in permanent smart lights (like the popular systems from Eufy, Govee, or Nanoleaf), this is where my custom mounts shine. They are designed to hold these specific modules perfectly straight, often using VHB tape or mounting points that don't compromise your home's envelope. They prevent that dreaded “sag” you see on generic setups.
Zip Ties
For tight corners, porch railings, and tricky posts, zip ties are unmatched. They are strong, cheap, and temporary.
Using Zip Ties for Clean, Secure Cable Management
I cannot stress this enough: zip ties are the secret to a professional-looking display.
You can have the most expensive lights on the market, but if the wires are dangling loosely, it looks messy. Zip ties allow you to pull wires taut against railings or posts. They prevent sagging, which is the number one enemy of a clean light line.
They are especially useful for:
- Securing lights to banisters and deck railings.
- Attaching extensions cords to drainpipes to hide them from view.
- Wrapping lights around tree trunks without using nails.
Just remember to trim the “tail” of the zip tie flush for a clean finish. It’s a small detail that makes a huge visual difference.
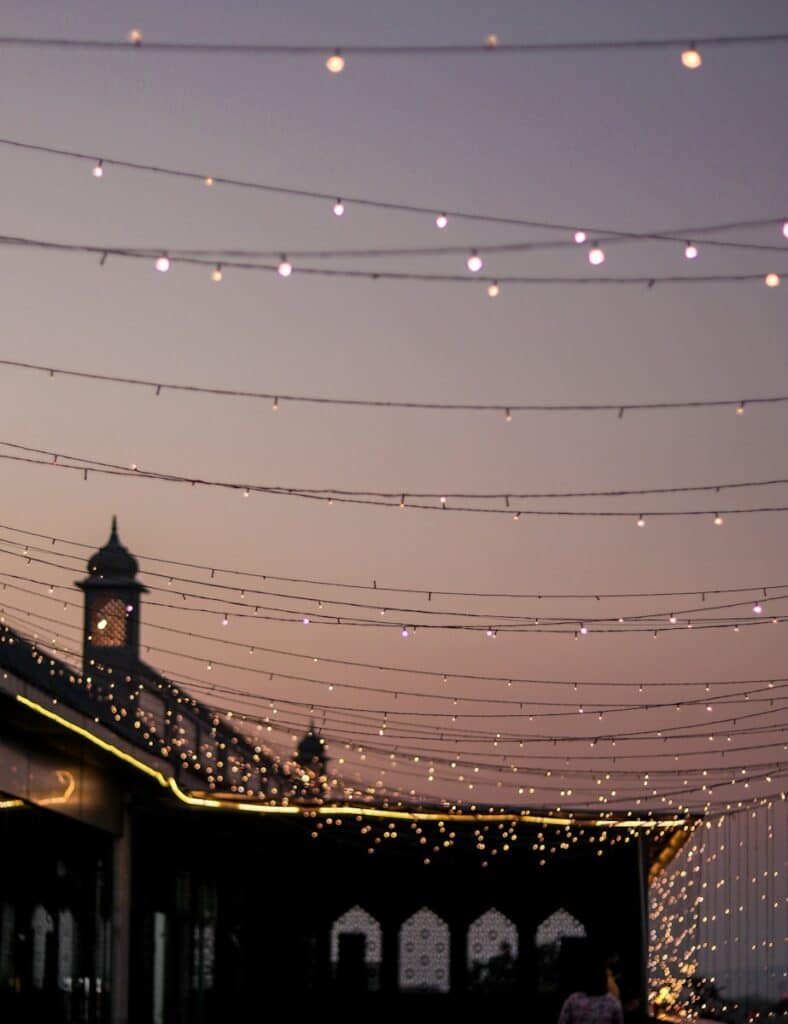
How to Hang Lights Around Windows and Doors
Framing your windows creates a warm, inviting look that welcomes guests. Here is how to do it without a staple gun:
- Use removable hooks: Place adhesive hooks at the top corners and a few along the sides.
- Keep tension: Keep wires tight enough to look straight, but not so over-stretched that they pull the hooks off.
- Support the edges: Lights tend to slip at corners. Use two hooks close together at a 90-degree angle to keep the turn sharp.
- Avoid nails completely: There is never a reason to put a nail in your window casing.
- Automate it: Use a timer so your window lights welcome you home, even if you're working late.
My mounts are particularly good here for permanent installs because they maintain that perfect spacing off the glass, creating a uniform glow that manual stringing rarely achieves.
Hanging Lights on Gutters and Eaves Without Damage
When you're up at the roofline, your priority is protecting the shingles. Gutter clips are the standard, but spacing matters. I recommend placing a clip every 6 to 12 inches. This prevents the wire from drooping under the weight of snow or ice.
If you don't have gutters and are hanging directly on eaves (the fascia board), use clips that slide onto the fascia rather than into it. Ensure your tension is even along the whole string. If one section is loose, the wind will catch it, and that constant movement can wear down the wire insulation or rub against your paint.
Be mindful of icy shingles. Never try to install or remove clips if there is ice on the roof edge—it's dangerous for you and can tear the shingles if you slip.
Lighting Paths, Railings, and Walkways Safely
Don't forget the ground level. Lighting your walkway is welcoming and adds safety for visitors.
- Stakes: Use plastic ground stakes to line driveways. They simply push into the soil.
- Railings: Wrap garland or lights around handrails using zip ties to keep them from sliding down.
- Safety first: Ensure no cords cross the walking path. If a cord must cross a sidewalk, tape it down securely or use a cord cover to prevent tripping.
Using a Timer to Make Your Lights Safer and More Efficient
A timer isn’t just about convenience; it’s about energy savings and safety. You don’t want your lights running 24/7, heating up unnecessarily or wasting electricity.
Mechanical timers are great and reliable, but smart plugs are even better. They let you control the lights from your phone, set schedules based on sunset, or turn them off remotely if you forgot. It keeps the process low-maintenance so you can focus on the hot cocoa.
Storing Your Lights So They Last Forever
The sadness of taking down decorations is real, but packing them right is a gift to your future self.
- Avoid tangles: Don't just throw them in a box. Wrap strands around a piece of cardboard, a specialized reel, or even a hanger.
- Label everything: Remember those labels from step one? Keep them on. “Front Porch,” “Garage,” “Tree.”
- Protect the mounts: If you use removable clips, store them in a Ziploc bag inside the light tub.
- Use durable tubs: Cardboard boxes disintegrate in damp basements or attics. Plastic tubs protect your electronics from moisture and pests.
Proper storage means your equipment lasts for years rather than just one season.
When to Call a Professional Installer
I get it—sometimes, you just don't want to climb the ladder. And that is perfectly okay. If you have a steep roof, a massive yard, or a complex custom outline in mind, calling a professional installer is a smart move.
Professionals have the insurance, equipment, and experience to handle heights safely. Interestingly, many professional installers actually use my custom mounts for permanent systems like Govee and Eufy. They love them because they save time on the install, reduce errors, and result in a polished look that makes their clients happy.

Final Thoughts on How to Hang Christmas Lights: Create a Holiday Display You’ll Love All Season
At the end of the day, your home is your sanctuary. Decorating it should be an expression of joy, not a source of damage or stress. By taking a little extra time to plan, using the right clips and mounts, and avoiding nails, you protect your investment while creating a beautiful display for the neighborhood to enjoy.
I invite you to browse my shop at Deliciosa Decor. Whether you need robust, precision-fit mounts for your permanent outdoor lights or unique, handcrafted décor to warm up your interior, I’ve got you covered.
Remember, every order ships free, and I’m currently offering a 25% discount on everything. It’s my way of helping you get set up with quality materials that keep your home secure in any weather.
Stay safe, stay creative, and happy decorating!
Installation Tips and Tricks Guide
- Govee Permanent Outdoor Lights Installation Guide: This guide provides step-by-step instructions, necessary tools, and smart installation tips for Govee permanent outdoor lights. Read the guide here
- How to Hang Christmas Lights: A Step-by-Step Guide: A detailed blog post walking you through the process of hanging Christmas lights, from choosing the best lights to creative outdoor display ideas. Check it out here
- Govee Outdoor Lights Installation Video on TikTok: A quick and simple video guide on customizing and installing Govee outdoor lights, perfect for festive decorations. Watch the video here
- Govee Blog: How to Hang Christmas Lights: Another helpful guide from Govee, focusing on planning your display, untangling lights, and securing them with clips or hooks. Explore the guide here
- Govee Official YouTube Channel: Find video tutorials and tips for installing and customizing Govee outdoor lights for the holiday season. Visit the channel here
- Reddit: Govee Lights Installation Tips: A community-driven resource where users share their experiences, tips, and tricks for installing Govee outdoor lights. Join the discussion here
- Amazon Product Reviews for Govee Outdoor Lights: Check out customer reviews and Q&A sections for insights on installation and usage of Govee outdoor lights. Browse reviews here

