I’ve worked with homeowners, DIY decorators, and professional installers who all want the same thing: outdoor lighting that looks great, installs smoothly, and lasts for years.
There is a specific kind of satisfaction that comes from looking at a roofline and seeing a perfectly straight, glowing line of light. As the founder of Deliciosa Decor and a Marine Corps Veteran, I approach these projects with a mindset of precision and durability. I want things done right the first time, so you aren't back on a ladder six months later fixing a sagging strand.
Govee outdoor permanent lights have become one of the most requested systems I see. They are affordable, feature-rich, and generally accessible for the average homeowner. But before installing them, there are a few things I always wish customers understood first.
If you go into this project blind, relying solely on the adhesive pads and tape included in the box, you might be setting yourself up for frustration. Here is the honest truth about whether they are worth it, how long they really last, the differences between the confusing model names, and the tips installers use to get that professional finish.
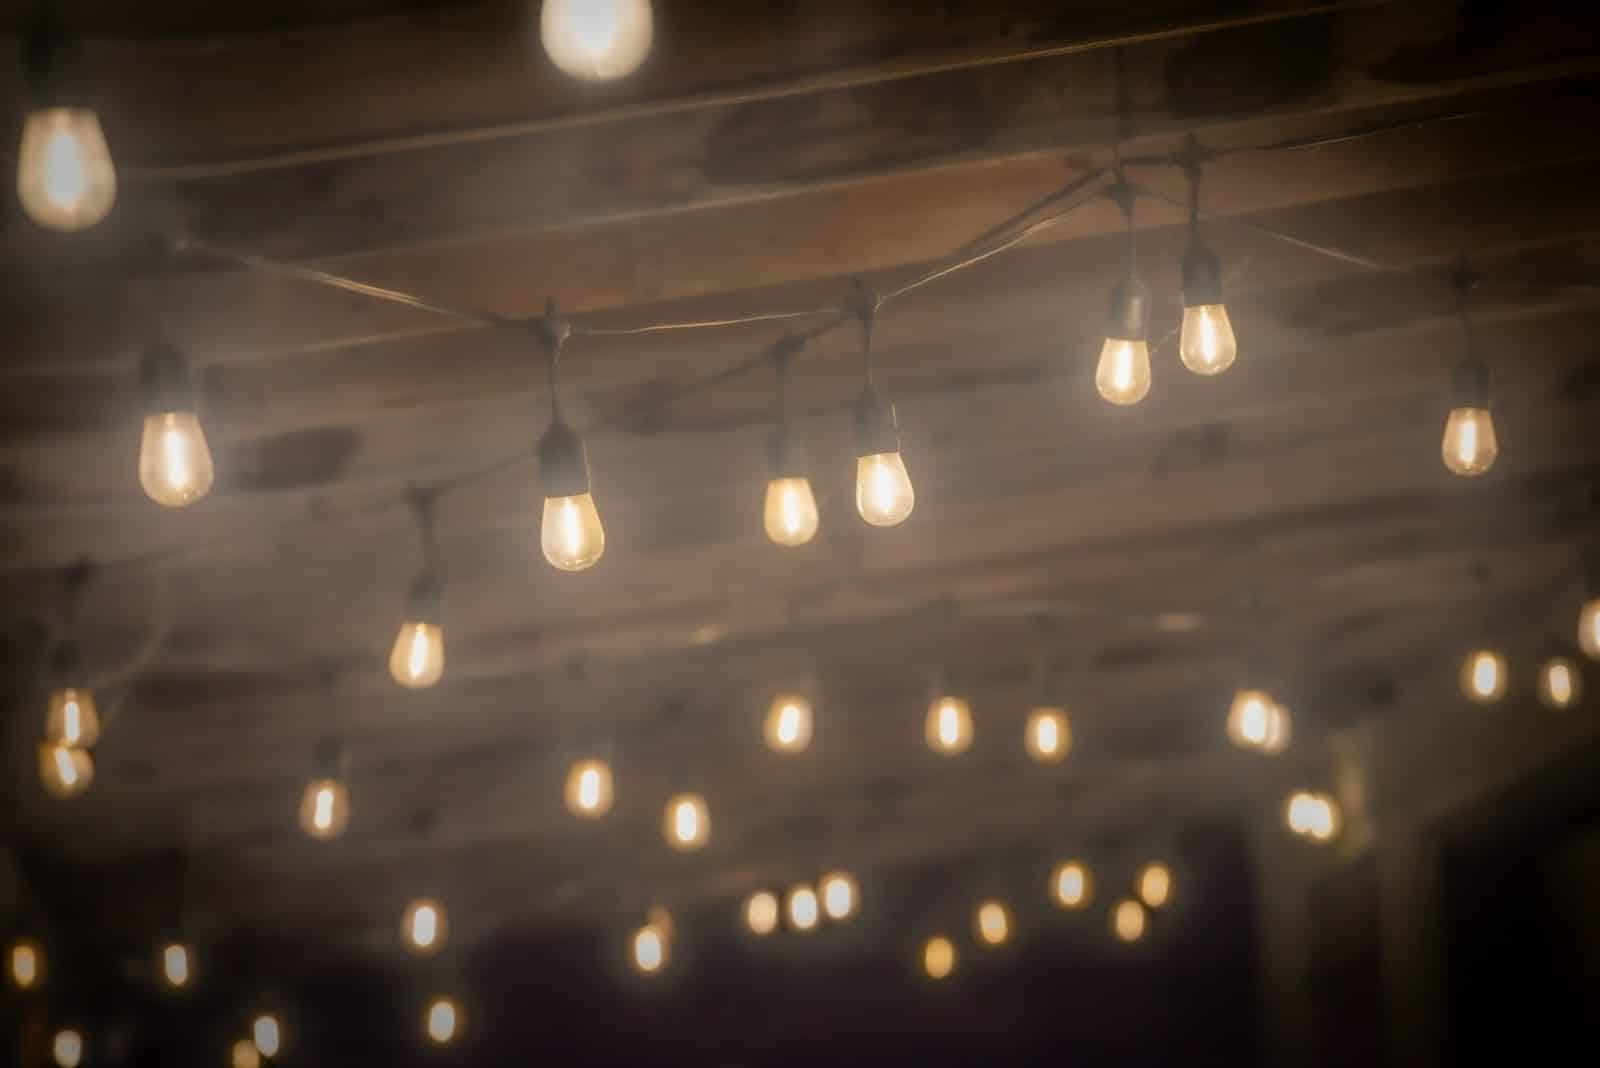
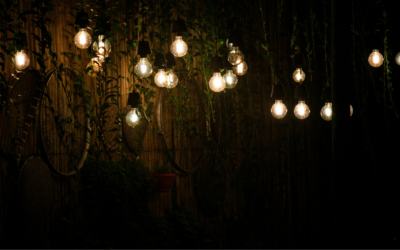
Photo by Pete Alexopoulos on Unsplash
Are Govee Outdoor Lights Worth It?
This is usually the first question I get asked. Is it worth drilling holes or sticking things to my soffits? In my experience, the answer is a resounding yes, but the value proposition goes way beyond just Christmas.


Year-Round Versatility | Daily and Accent Lighting
The old way of thinking about roofline lighting was purely seasonal. You put them up in November, freeze your fingers off taking them down in January, and store them in a tangled mess in the garage. Govee changed that game. Because these lights offer millions of colors and warm white and cold white lighting options, they transition from holiday cheer to architectural accent lighting instantly, with endless possibilities.
You can run a soft, warm white (2700K-3000K) throughout the year to highlight your home’s architecture, increasing curb appeal and security. Then, with a tap on your phone, switch to orange for Halloween or red and green for Christmas decorations.
Smart Home Integration | Govee Home App and Google Assistant
I’ve found that the convenience factor is what truly hooks people. The Govee Home app is robust, allowing for detailed scheduling all within the app control. You can set the lights to turn on at sunset and off at sunrise automatically. Furthermore, the integration with Google Assistant and Alexa means you can control your exterior lighting with smart voice control.
If you are new to smart home automation, CNET offers a great guide on getting started with smart lighting ecosystems.
Honest Expectations
However, they are only “worth it” if they stay on your house. The most common complaint I hear isn't about the light quality—it's about the installation failing. Surface preparation is everything. If you stick these directly onto dirty aluminum or wood soffits without cleaning them thoroughly with isopropyl alcohol first, they will fall. It’s not a matter of if, but when.
How Long Will Govee Permanent Lights Last?
Manufacturer ratings will tell you that LEDs can last 50,000 hours. That is theoretically true for the diode itself. But when we talk about longevity in an outdoor environment, we aren't just talking about the bulb burning out. We are talking about the system surviving the elements.
The Sun is the Enemy
Most people worry about rain, but UV exposure is actually the biggest threat to your outdoor lights. Over time, the sun makes plastics brittle and degrades adhesives. While Govee uses anti-UV materials, the adhesive backing is the weak link.
In my shop, I see this constantly. A customer installs lights in the summer, and by the first freeze of winter, the expansion and contraction of the house materials cause the adhesive to pop loose.
Why Mounting Matters
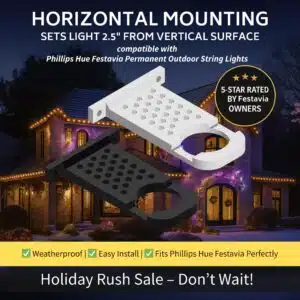
This is the biggest secret installers know: Mechanical mounting improves reliability exponentially. Relying on a sticker to hold electronics against gravity for five years is optimistic. Professional installers almost always use clips or screws to secure the lights.
At Deliciosa Decor, I design mounts specifically to help installations last longer and look cleaner. By using a 3D-printed mount that screws into the soffit, you remove the reliance on adhesive. This ensures that even if the sticky tape dries out, your lights aren't going anywhere.
Cable Management and Spacing
Another factor affecting lifespan is tension. If you pull the cables too tight between pucks, you stress the internal wiring. Proper spacing is crucial. I also recommend checking out this guide on weatherproofing outdoor electronics to understand how to protect your control box and power adapter, which are not as waterproof as the lights themselves.
Govee Permanent Outdoor Lights vs Lights 2 — What’s the Difference?
Govee iterates on their products quickly, which is great for technology but confusing for buyers. Currently, many customers are trying to decide between the original version and the newer “Lights 2.”
Improvements in Newer Versions
The “Lights 2” model is generally considered a significant upgrade for a few reasons. First, the white light quality is better. The original lights sometimes struggled to produce a pure, warm white without a hint of color bleed. The newer chips are much more refined.
Second, the durability rating has improved. Govee has beefed up the waterproofing and temperature resistance in the newer models.
The Triangular Lighting Effect
One of the signature looks of permanent lighting is the “scallop” or cone of light that washes down the wall. The Lights 2 have updated lenses that create a better triangular lighting effect against the wall. If you want that crisp, high-end architectural look, the Lights 2 handles it better than the original generation, which had a softer wash.
You can read more about different beam angles and lighting effects to understand how this changes the look of your home.
Practical Installer Insight
For most DIY homeowners, the Lights 2 is the sweet spot. It offers the updated features without the higher price tag of the Govee permanent outdoor lights pro series. However, be aware that mount spacing might differ slightly between models due to the physical size of the pucks. Always measure the actual product before drilling pilot holes!
What’s the Difference Between Govee Permanent Outdoor Lights and Pro?
If you have a large home or a complicated roofline, you might be eyeing the “Pro” version. Here is how I break down the differences for my clients.
Build Quality and Durability
The Pro lights are built like tanks. They feel heavier in the hand, and the cabling is thicker. If you live in an area with extreme weather—heavy snow loads, ice, or intense desert heat—the Pro version is engineered to handle that stress better.
The “Cuttable” Factor
This is the game-changer for installers. The standard Govee lights typically cannot be cut to length (or at least, it’s not supported and voids the warranty). You have to hide the excess wire. The Pro version supports cutting and splicing, which allows for a truly custom fit. If you have a roofline that ends abruptly, being able to cut the strand to the perfect length looks much more professional.
For a deeper dive into splicing and electrical customization, refer to Govee’s official support documentation, as doing this incorrectly can ruin your system.
Brightness and Performance
The Pros offer higher lumens (brightness). If you have a two-story home with high peaks, the standard lights might look a bit dim by the time the light hits the ground. The Pro lights have the punch to wash light all the way down a tall façade.
When I Recommend Pro
I steer customers toward Pro if:
- They have a massive home with difficult roof peaks.
- They require custom lengths due to complex architecture.
- Budget is less of a concern than getting the absolute best performance.
For standard ranch-style homes or single-story installs, the non-Pro versions are often perfectly sufficient.
What Installers Wish Customers Knew Before Installing Outdoor Lights
Before you climb that ladder, there are logistical hurdles that catch almost everyone off guard. Clean installs always come down to preparation, not just tools.
Plan Your Power Access First
The number one mistake I see is installing all the lights and then realizing the plug doesn't reach the outlet. You need to identify where your power source is. Do you have soffit outlets? Will you need to run an extension cord through the attic?
Pro Tip: Use a “power injection” plan if you are running very long strands (over 100-150 feet) to prevent voltage drop, which makes the lights at the end of the run look dimmer or different colors. This article explains the voltage drop in LED strips clearly.
Measure Your Rooflines Carefully
Don't eyeball it. Use a measuring tape or a laser measure. You need to account for the jumps between roof sections. Govee sells extension cables (blank wire with no lights) to jump between peaks, but you need to know exactly how many you need before you start.
Think About the Daytime Look
At night, these lights are magic. During the day, they are white plastic pucks stuck to your house. If you have dark brown or black soffits, white lights and wires can stick out like a sore thumb.
I always tell customers to consider how the installation looks when the lights are off. This is another area where custom mounts help—they can sometimes help tuck the wire tighter to the trim, making the system less visible.
Placement Distance from Wall
The distance you mount the light from the wall changes the lighting effect.
- Too close (1-2 inches): Creates a harsh hotspot and highlights every imperfection in your siding.
- Too far (over 10 inches): The light washes out, and you lose the dramatic cone effect.
- The Sweet Spot: Usually, 2 to 4 inches from the wall is ideal for that classic scallop look.
How the Right Mounting System Improves Govee Light Installations
I founded Deliciosa Decor because I saw a gap in the market. The lights were great, but the mounting hardware was an afterthought.
Why Adhesive Alone Isn't Enough
As mentioned earlier, the adhesive fails. But beyond failure, the adhesive makes it hard to get a straight line. If your hand shakes or you follow a warped board, your light line will be wavy. Once that tape is stuck, it is incredibly difficult to move without damaging the light or the paint.
Benefits of Precision-Fit Mounts
Using a mechanical mount changes the workflow.
- Clean Spacing: You can mark your spots and screw in the mounts first. You can step back, check the alignment, and adjust before the lights are attached.
- Better Durability: Our mounts are designed to cradle the light puck securely. They protect the unit and take the strain off the wire.
- Faster Installation: It sounds counterintuitive that screwing in mounts is faster than tape, but it saves time on corrections. You click the light into the mount, and it’s done.
Who Benefits Most?
If you are a seasonal decorator who wants a permanent solution, pair DIY permanent lights with professional mounting to bring your whole light set up together. Even professional installers are switching to our mounts because it reduces their callback rate for fallen lights.
Why I Believe Permanent Outdoor Lighting Is the Future of Accent Lighting
We are moving away from “disposable” decorating. Homeowners want investments that add value to their property every day, not just in December.
Lighting Trends
The trend is moving toward subtle, warm ambient lighting. It’s about making the home feel welcoming. Smart home integration allows your exterior lights to react to things—flashing when your Uber eats arrives or turning bright white if a security camera detects motion.
For more on where the industry is heading, check out this report on smart home trends.
Emotional Benefit
There is a genuine emotional lift when you pull into your driveway and your home is warmly lit. It feels safer and more inviting. And the relief of knowing you never have to get up on a dangerous roof in freezing weather to hang holiday lights or festive lighting again? That is priceless.

photo from https://www.govee.com/doc
Final Thoughts on Govee Outdoor Permanent Lights
Govee has democratized permanent outdoor lighting to liven up your outdoor spaces. What used to cost $3,000 to $5,000 for a professional system can now be done for a fraction of the cost by a handy homeowner.
They are absolutely worth the investment for most homeowners, provided you go into the project with realistic expectations about installation. The longevity of your system depends entirely on the quality of your installation.
If you choose the right model for your home, plan your power runs, and secure your lights with proper mechanical mounts, you will have a system that turns heads for years to come. With the right preparation, anyone can achieve a clean, professional-looking install.
If you’re planning to install Govee permanent outdoor lights, I always recommend planning your mounting solution first. At Deliciosa Decor, we design precision-fit mounts to make easy installations cleaner, faster, and more durable.
FAQ
Are Govee outdoor lights waterproof?
Yes, the string lights are typically rated IP67, meaning they can withstand rain and snow. However, the control box and power adapter are usually IP65 or lower and should be protected from direct water exposure or submerged conditions.
Can permanent outdoor lights be removed?
If you use the provided adhesive, removing it can be difficult and may peel paint from your soffits. If you use screw-in mounts from Deliciosa Decor, removal is as simple as unscrewing the mount, leaving only tiny pilot holes that are easily patched.
Do Govee lights increase home value?
While they may not drastically change your appraisal, permanent architectural lighting significantly boosts curb appeal, which is a major factor in attracting buyers.
Can I cut Govee permanent outdoor lights?
Standard Govee permanent lights should not be cut, as it voids the warranty and usually breaks the circuit. However, the Govee permanent lights Pro Series is designed to be cut and spliced using specific kits provided by Govee.
How do I clean my soffits before installation?
You should use a rag with 70% or higher Isopropyl alcohol. Wipe the area vigorously to remove dust, oxidation, and oils. Allow it to dry completely before applying any adhesive.