

You’ve seen them lighting up the neighborhood: crisp, colorful rooflines that look incredible during the holidays and equally stunning on a random Tuesday night. The appeal of permanent outdoor lights is undeniable. No more ladders in freezing December weather, no more tangled strings of Christmas lights, and total control from your smartphone.
But here is the hard truth I’ve learned from years in this industry: The lights are only as good as the installation.
I founded Deliciosa Decor as a Disabled Marine Corps Veteran with a focus on precision and resilience. Whether I'm crafting botanical decor or engineering custom mounts, I believe in doing things right the first time. I’ve worked with countless DIY homeowners and professional installers, and I see the same avoidable mistakes happen over and over again. These errors don't just look bad—they waste time, money, and lead to frustration when your expensive smart lights with voice control start drooping or peeling off your eaves six months later.
If you are going to invest in a permanent lighting system, you want it to last. By avoiding these seven common pitfalls, you can ensure your home shines bright for years to come without the headache of constant repairs.


Are Permanent Outdoor Lights Worth It?
Before we dive into the mistakes, let’s answer the question I get asked most often: Is it really worth the upfront cost and effort?
The short answer is yes—if installed correctly.
Permanent outdoor lights offer unmatched versatility. You aren't just buying Christmas lights; you're buying security lighting, architectural accent lighting, and party lighting all in one package. Systems from brands like Govee, Eufy, and Nanoleaf allow you to customize colors, patterns, and timers from your phone.
However, they are not worth it if they fall down after the first winter storm or look messy during the day. Durability is the key factor here. If you treat these high-tech systems like disposable holiday decorations, you will be disappointed. But if you treat them like a permanent home improvement project, they will add significant value and curb appeal to your property.
For a deeper dive into the pros and cons of different systems, check out this guide on Smart Home Solver regarding the best smart outdoor lighting options.
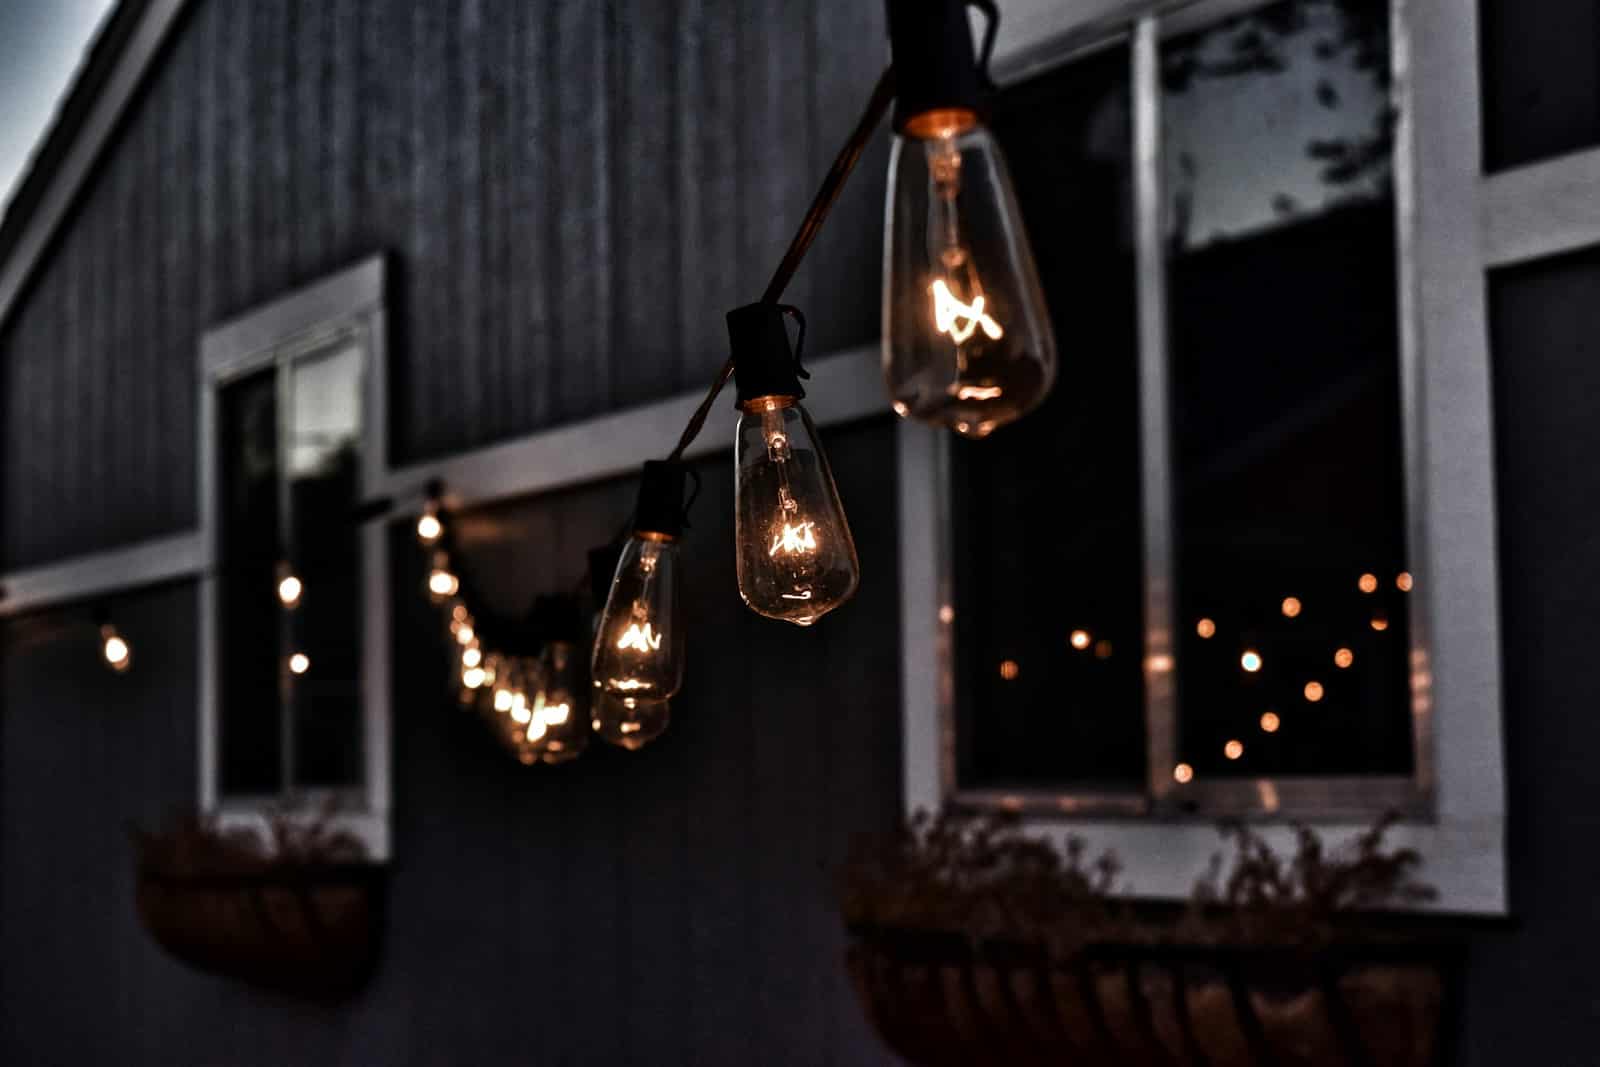
Photo by David Pennington on Unsplash
Mistake #1: Treating Permanent Outdoor Lights Like Temporary Light Strings
The biggest mindset shift you need to make is understanding that a light string designed for permanent use is fundamentally different from the cheap strands you buy at a big-box store in November.
Many homeowners try to install permanent lights using temporary methods. They might rely solely on the adhesive backing provided on the lights or use cheap plastic clips designed for seasonal removal. This is a recipe for disaster.
Adhesives eventually fail. It’s not a matter of if, but when. UV rays from the sun, fluctuating temperatures, and moisture will degrade that sticky tape. Once one section droops, the weight pulls down the rest of the strand.
The Fix: You need mechanical fasteners or mounts designed to stay put year-round. This ensures your lights stay straight and secure, regardless of the weather.
Mistake #2: Using One-Size-Fits-All Mounts
Not all permanent lights are shaped the same. A Govee puck light has different dimensions than a Eufy light or a Nanoleaf string. Yet, many people try to force these lights into generic clips found at the hardware store.
When you use a mount that isn't precision-engineered for your specific light model, two things happen:
- The lights twist: They won't point directly downward, leading to a sloppy, uneven light wash on your walls.
- The lights fall out: If the fit is too loose, gravity wins. If it's too tight, you risk damaging the housing of the light itself.
At Deliciosa Decor, we specialize in perfect fit engineering. We create custom mounts specifically for brands like Govee, Eufy, and Nanoleaf. This ensures the light snaps in securely and stays perfectly aligned forever.
For more on why specificity matters in smart home gear, TechHive offers great reviews on how different ecosystems require different hardware approaches.
Mistake #3: Incorrect Spacing Along Eaves
When you look at a professional installation, the “cones” of light washing down the house look uniform. This is achieved through consistent spacing.
A common DIY mistake is mounting the lights too close to the wall or spacing them inconsistently to “make the strand fit” the length of the roof.
- Too close to the wall: You get harsh “hot spots” of light rather than a soft wash.
- Too far away: The light disperses too much and looks dim.
- Inconsistent spacing: It looks messy and distracting, ruining the architectural effect.
The Fix: Most permanent outdoor lights perform best when mounted about 2-4 inches away from the wall (depending on the brightness and beam angle). Use a spacer block or a template during installation to ensure every single light is the exact same distance from the fascia board.
If you are struggling with layout visualization, Houzz has excellent galleries of exterior lighting to help you understand proper spacing and aesthetic for your home's exterior lighting setup.
Mistake #4: Mounting Directly Into the Wrong Material
Your eaves and soffits can be made of wood, aluminum, vinyl, or fiber cement. Drilling directly into these materials without a plan can cause expensive damage.
- Vinyl: Drilling incorrectly can crack the vinyl, especially in cold weather. Plus, vinyl expands and contracts with heat, which can warp light strands if they are screwed in too tightly.
- Aluminum: This requires self-tapping screws and a careful hand to avoid stripping the thin metal.
- Wood: While easier to drill into, wood and trees can rot if moisture gets into the screw holes.
Many kits come with cheap included screws that rust or strip easily. We recommend using high-quality outdoor-rated screws. Furthermore, using a 3D-engineered mount acts as a buffer between the light and your home, often simplifying the attachment process and protecting the light from direct contact with rough surfaces.
To learn more about identifying your soffit material, This Old House provides excellent guides on exterior home materials.
Mistake #5: Ignoring Power Supply Planning
You’ve mapped out where the lights go, but have you thought about where the power comes from?
I’ve seen installations where the homeowner gets to the end of the first strand and realizes the power brick is dangling in mid-air, five feet from the nearest outlet. This leads to ugly extension cords running up the side of the house or, worse, dangerous electrical setups.
The Fix:
- Locate your exterior outlets before you buy your lights.
- Measure the distance from the outlet to the start of your roofline.
- Buy the appropriate low-voltage extension cables from the manufacturer.
- Plan to hide the power supply box in a garage, attic, or a weatherproof box to keep it dry and out of sight.
Family Handyman is a great resource for learning safe electrical practices for outdoor projects.
Mistake #6: Cutting or Extending Lights Without a Plan
Many smart lighting systems claim to be “cuttable” or “extendable,” but there are strict rules.
- Cutting: Some lights can only be cut at specific copper points. If you cut in the wrong spot, you kill the circuit and ruin the strand.
- Extending: You cannot just add infinite strands. Every power supply has a maximum load. If you exceed it, the lights will dim, flicker, or fail to turn on.
Another issue is the “jump.” If you have a dormer or a peak on your roof, you might need to run a blank extension wire between light strands. Without a mount to secure these jumper wires, they look messy and can get caught in the wind.
The Fix: Read the manufacturer's manual twice before cutting anything. If you need to make a jump, use mounts designed to hold the wire flat against the trim so it disappears from view.
For technical details on voltage drop and circuit loads, Reddit’s r/Govee community is surprisingly helpful for specific troubleshooting.
Mistake #7: Installing Without Thinking About the Long Term
When you install lights in October, it’s easy to forget about when it's warm in July.
Temporary-looking installs—those with loose wires, sagging adhesive, or visible zip ties—do not age well. They collect spiderwebs, debris, and eventually look like trash hanging from your gutters.
Permanent means permanent. You need to design your installation so that it is practically invisible during the day. This is where our mounts shine. By tucking the lights securely against the trim and matching the color profile where possible, the hardware disappears, leaving only the light effect at night.
Think about future maintenance, too. If you ever need to replace a single defective pixel, is your mounting method permanent (like super glue) or secure-but-removable (like a screw-in mount)? You want the latter.
CNET often reviews smart home longevity and can help you choose products known for durability.
How Much Does It Cost to Have Permanent Outdoor Lights Installed?
If all of this sounds like a lot of work, you might be considering hiring a pro.
- DIY Cost: You are paying for the lights ($300 – $800, depending on house size) plus installation materials like mounts, screws, and ladders. Total: $500 – $1,200.
- Professional Installation: Companies often charge per linear foot. For a standard home, this can range from $2,500 to $6,000+, depending on the complexity of the roofline and the brand of lights used.
If you choose the DIY route to save money, do not cut corners on the mounting hardware. Spending a few hundred dollars on custom mounts can save you thousands in professional repairs or re-installation costs later.
How Long Do Permanent Outdoor Lights Last?
Most LED permanent lights are rated for 50,000 hours of use. That’s roughly 15-20 years if used for 6-8 hours a night.
However, the electronics usually outlast the installation. The lights will still work, but if they are dangling off the roof because the sticky tape failed, they are useless.
The longevity of your system is directly tied to the quality of your mounting. Precision-fit mounts protect the wires from stress and keep the lights out of standing water or snow buildup, significantly extending the life of the system.
What Are the Downsides of Permanent Outdoor Lights?
I value transparency, so let’s look at the downsides:
- Upfront Cost: They are more expensive than traditional Christmas lights.
- Installation Time: Doing it right takes a full weekend or two.
- Complexity: App connectivity issues can happen (though they are getting rarer).
Interestingly, most “downsides” people complain about online—like sagging wires or falling lights—are actually installation failures, not product failures. When you eliminate the installation variables using the right mounts, you eliminate the vast majority of the downsides.
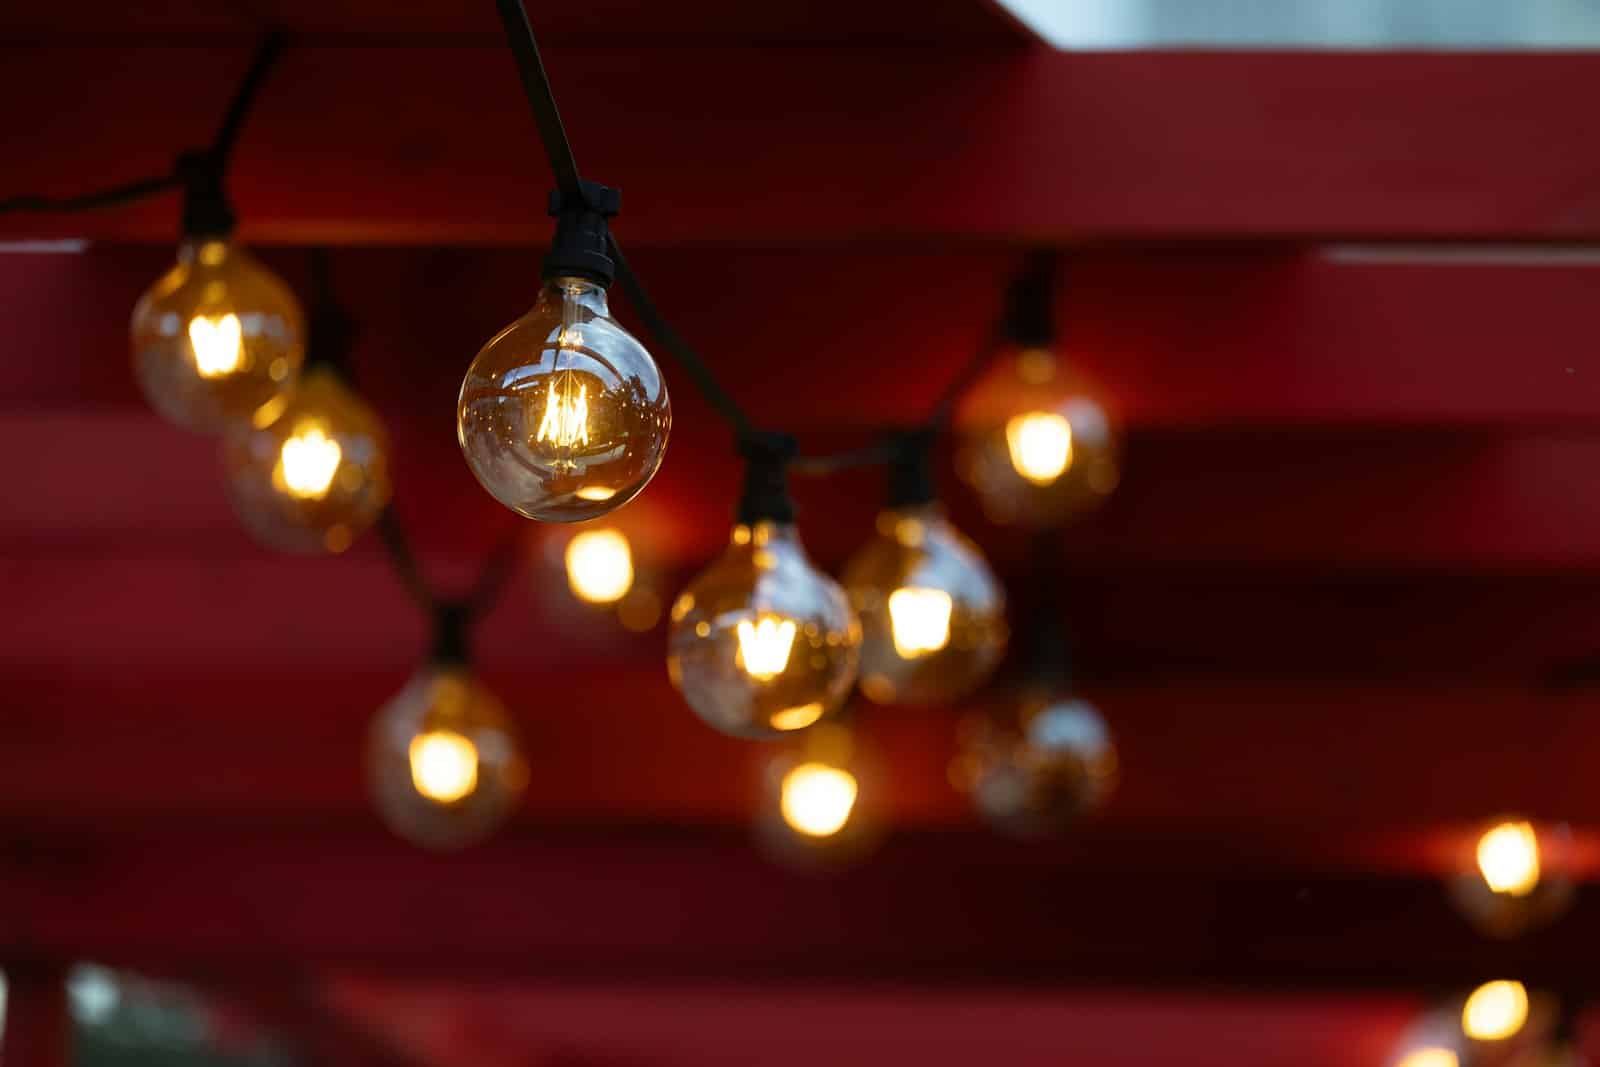
Photo by Alexandr Popadin on Unsplash
Why I Designed Mounts Specifically for Permanent Lights
I didn't start making mounts just to sell plastic. I started because I saw a gap between the amazing technology of brands like Govee and Nanoleaf, and the practical reality of attaching them to a house.
As a Veteran, I appreciate equipment that works as hard as I do. I wanted a solution that was:
- Durable: Able to withstand freezing winters and scorching summers.
- Precise: Engineered to snap-fit specific models so they never wiggle or fall.
- Aesthetic: Clean, low-profile, and professional-looking.
That’s why Deliciosa Decor exists. We create 3D-engineered mounts that bridge the gap between a DIY project and a professional-grade result. We support DIYers who want to take pride in their homes, and pros who want to guarantee their work.
Final Thoughts: Do It Once, Do It Right
Installing permanent outdoor lights is a project you should only have to do once. When done correctly, it transforms and illuminates your home, adds security, and brings joy to the neighborhood.
By avoiding these seven mistakes—and specifically by rejecting the “temporary” mindset—you can achieve a flawless install that looks just as good in daylight as it does at night. Smart planning, proper spacing, and the right mounting hardware are the secrets to success.
If you’re installing permanent outdoor lights and want them to look clean, stay secure, and last for years, I’ve designed mounts to make that easy.
Shop our custom-fit mounts today and get 25% off plus free shipping on every order.


